Territory hierarchy levels
The following SAP CRM training tutorials guides how to define territory hierarchy levels in SAP step by step. In our previous training tutorials we have learnt how to define number range interval for territory hierarchy levels. We can design territory hierarchy levels as per organization requirements.
Procedure to define territory hierarchy levels
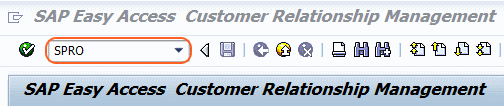
Step 1: – Enter transaction code “SPRO” in the command field and press enter.
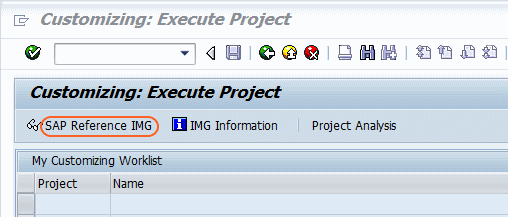
Step 2: – Select “SAP Reference IMG”
Step 3: – On the display IMG screen, follow the IMG path and double click on “Define territory hierarchy levels”
SAP Customizing Implementation Guide >> Customer Relationship Management >> Master Data >> Territory Management >> Define territory hierarchy levels.
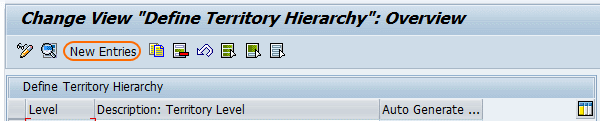
Step 4: – On change view define territory hierarchy overview screen, click on new entries for maintaining new hierarchy level as per your business requirements.
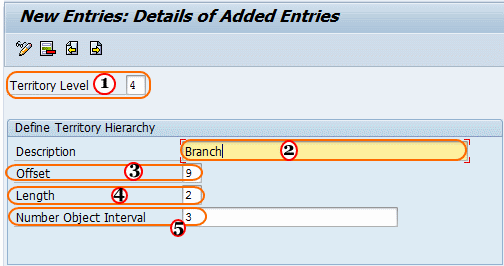
Step 5: – On new entries screen, update the following details.
- Territory level: – Enter hierarchy level of territory, maximum you can define 0-8 levels.
- Description: – Update the descriptive name of the territory level.
- Offset: – Update the offset that territory id to be display in the position of territory hierarchy.
- Length: – Update the length of territory for this hierarchy level.
After maintaining the hierarchy levels as per organization requirements, click on save button and save your configured data in the customizing request.
Successfully we have defined territory hierarchy levels in SAP.